Edges and Randy Grskevic. Personal project.
My personal project.
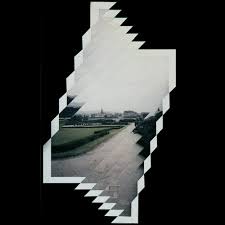
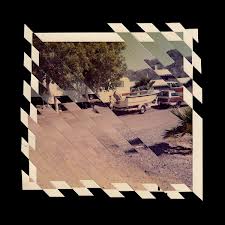
For my personal project on edges i will be cutting up an image and re arranging them.
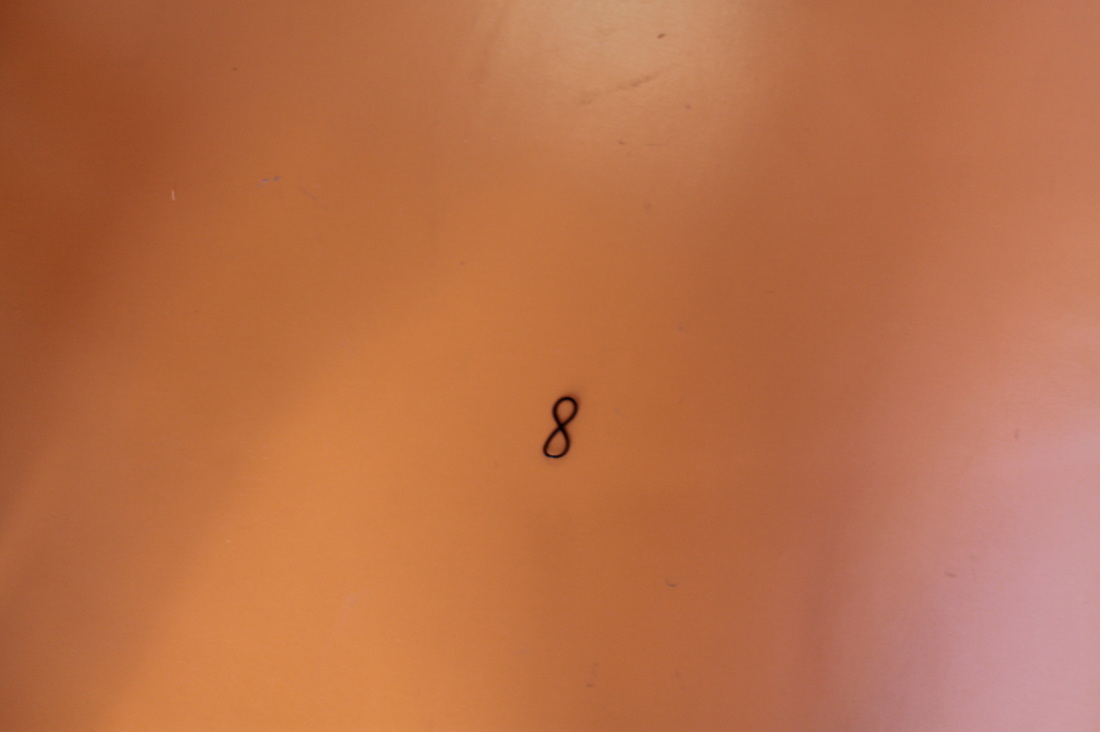
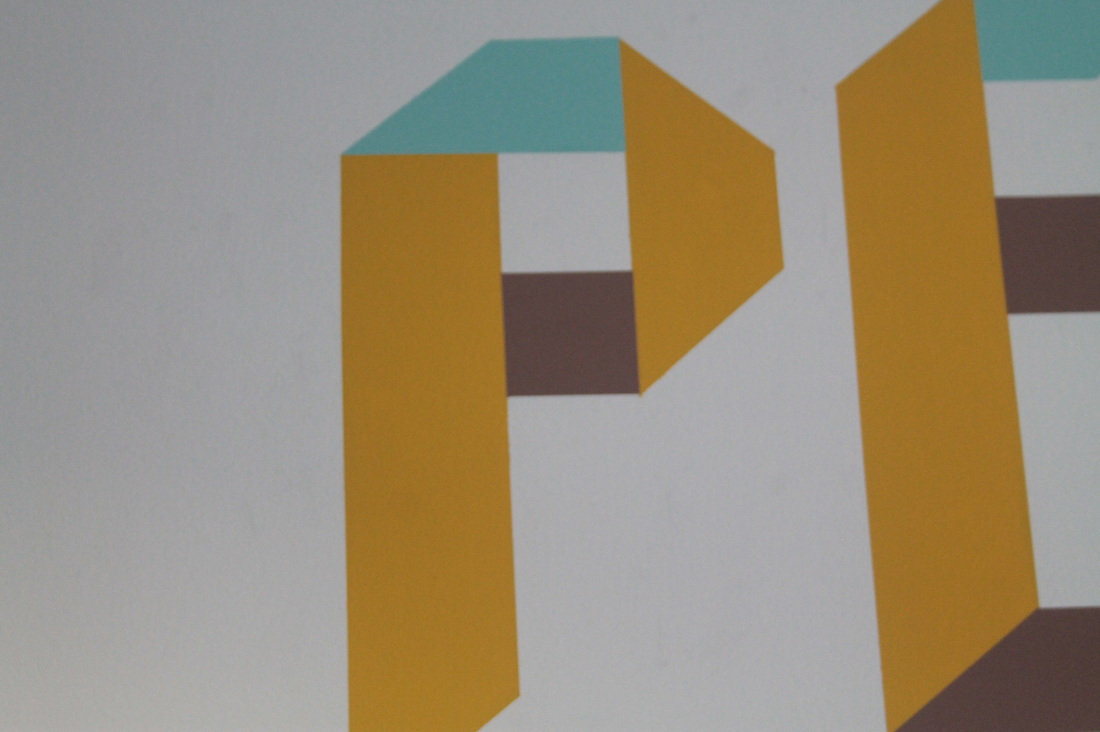
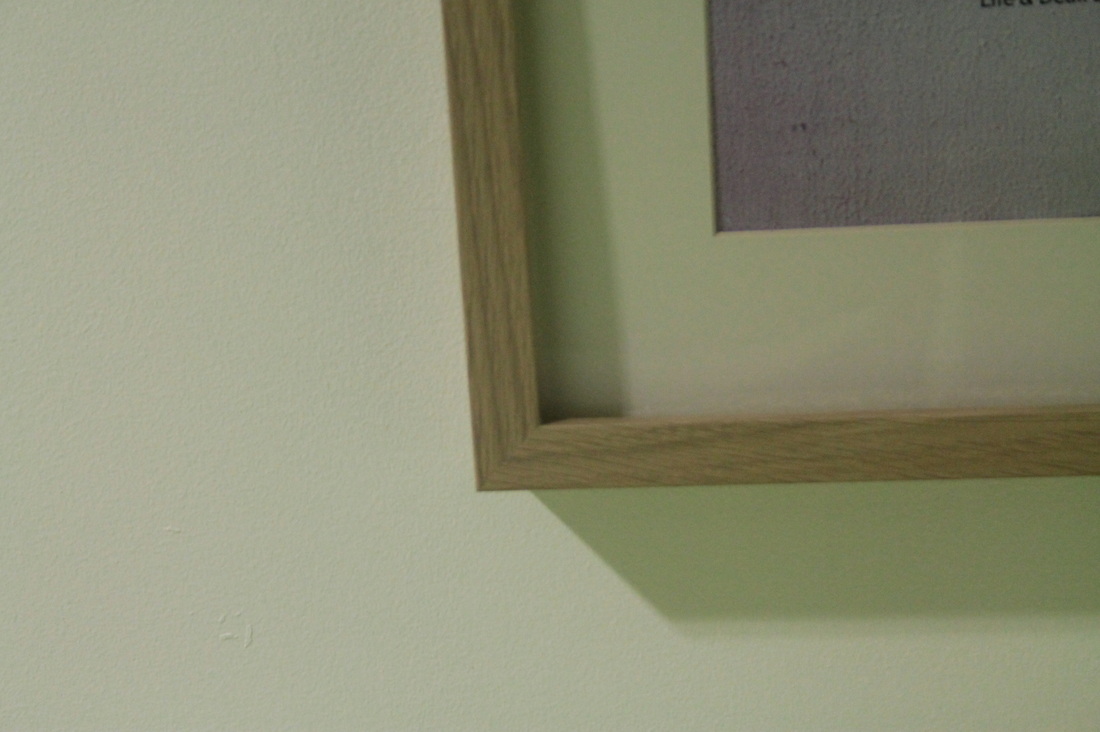
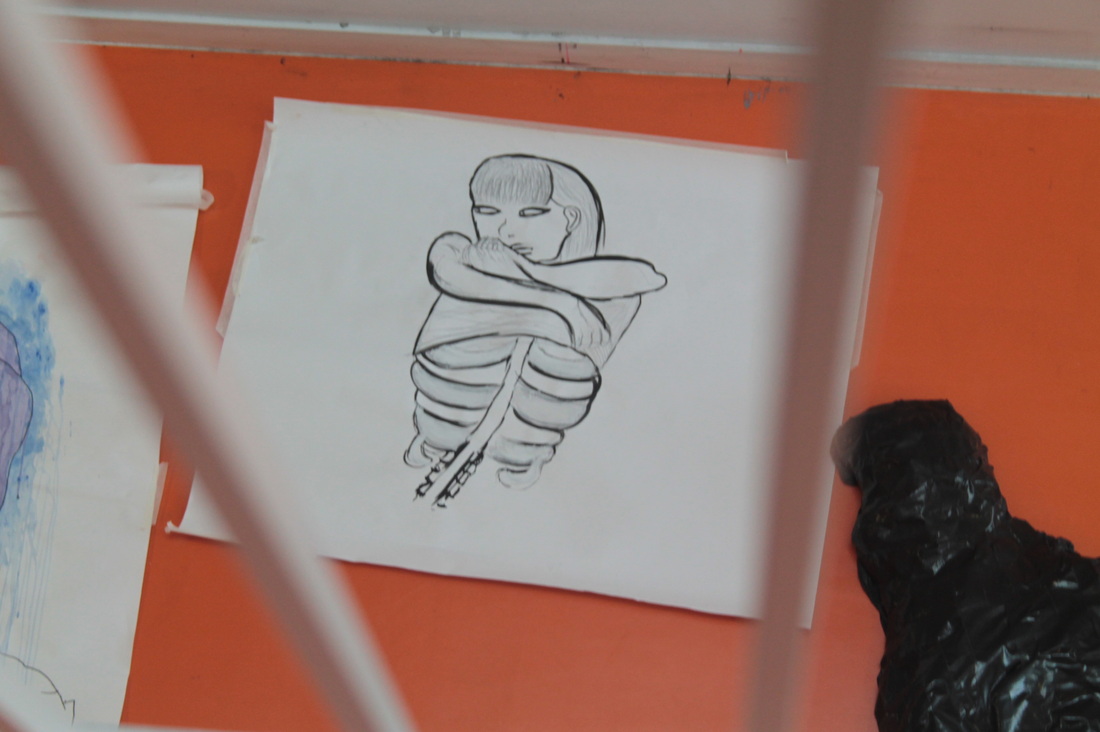
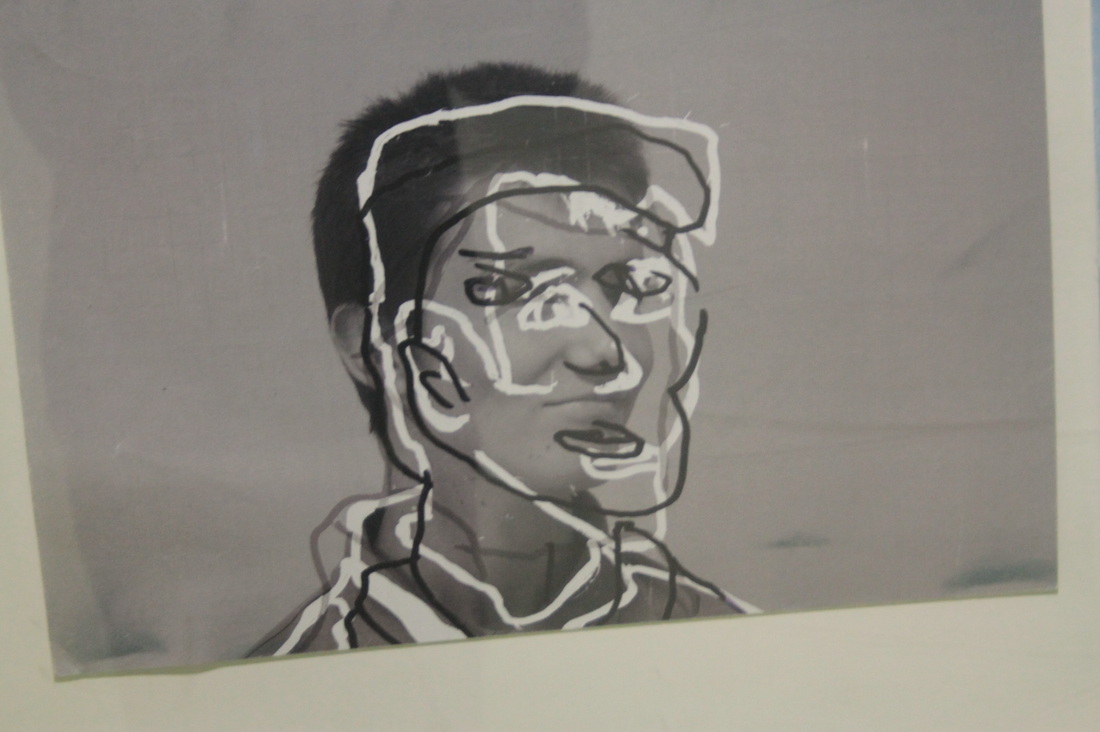
The pictures above are ones i took i have selected one and have photoshopped it to look more like my interpretation of edges.
WWW: These pictures are clear on what my interpretations are.
EBI: i had focused the camera and not moved it when i took the picture.
WWW: These pictures are clear on what my interpretations are.
EBI: i had focused the camera and not moved it when i took the picture.
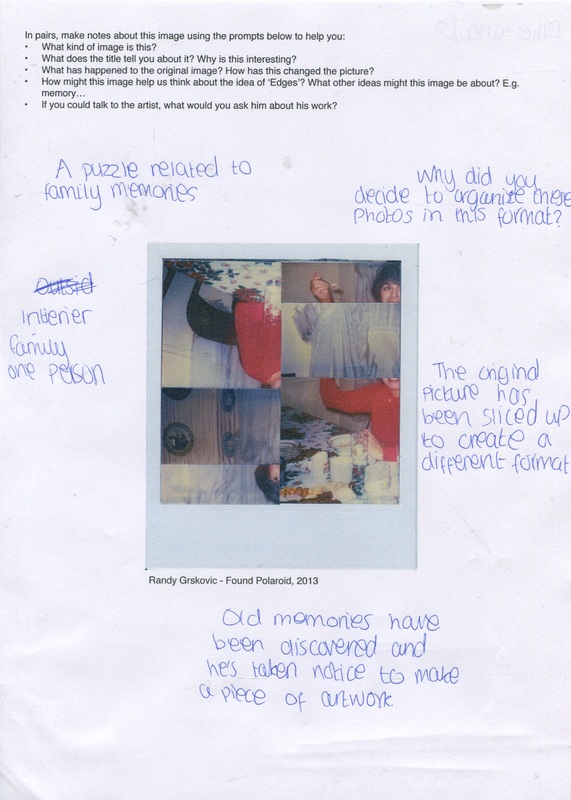
Randy Grskovic

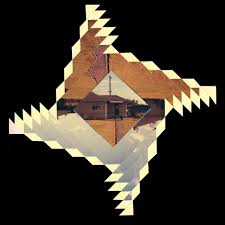
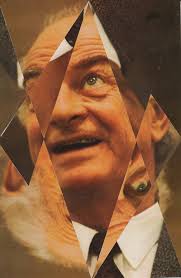
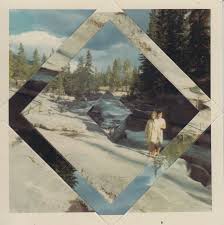
As you can see Randy Grskovic's work is incredibly confusing as the pictures come in many shapes and sizes.
My Project.
For my project i am going to perform something similar to Randy Grskovic.
it will be over the course of ten hours, and i need to plan and create a physical
image rather than just using photoshop, (although it is fun).
it will be over the course of ten hours, and i need to plan and create a physical
image rather than just using photoshop, (although it is fun).
Original picture.Evaluation
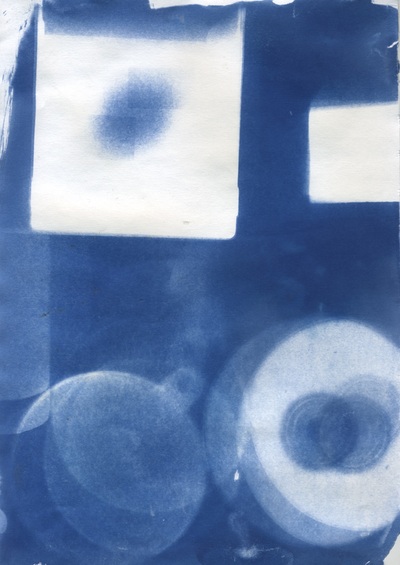
What. Went. Well:I made a ghost like image which creates multiple edges. Even. Better. If: I had left the objects on the page a little longer |
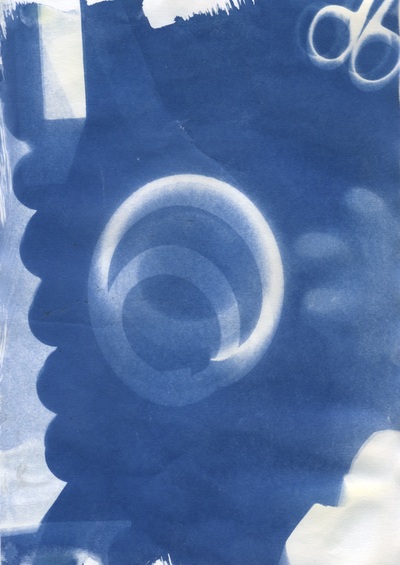
Edited photo.Evaluation
What. Went. Well: I used my hand to create finger prints in the image. Even. Better. If: i had added some more images. |
EVALUATION.
In this project i researched Randy Grskevic, i found out about him through my teacher, Mr Nicholls, i have learnt that there is no such thing as a perfect piece of art work. For example Randy Grskevic has a complex style with many different shapes and sizes for his work. But for my personal project i re-researched Ana Atkins whom you can learn about on my cyanotypes page in unit one.
The theme or type i chose to explore for my personal project were cyanotypes as they can create a 3d images if you use the right objects for example a C.D. Will create a somewhat 3D image and stands out more than any other. My first thought about the theme
The way i decided to make my images was through mr Nicholls idea as he came up with the idea for my project, as i was stuck on what i should do. the way a cyanotype works is through a complex iron sulphate solution. you place images on the chemicalized paper which reacts to the suns ultra violet rays and creates a blue print around the paper but where the objects have blocked the U.V rays it turns white when you wash the chemicals off.
I personally think all of my cyanotypes worked really well as they all came out pretty clear and almost as i wanted. Even better if i had left them for a little longer as on one of my images i wanted to create a ghostly effect. What i found challenging was what topic i should explore to create my final outcome edges piece.
I thought the objects i chose and changed along the way gave me a great final outcome.
|
|
my final outcome (left) worked really well i made a total of 16 badges out of 1 page of my cyanotypes. To make the badges it was a really simple process with the badge maker as i had to place a metal frame for the background, my circular piece of cyanoptype with a lamenent paper over the top of the circular cyanotype, push down the lever and rotate the platform to the right, you then have to place the plastic back board on the other side with the metal sticking in inwards and push as hard as you can, you should then have a badge placed in the platform. Remove the badge and check it to see then you place the plastic back board on the other side has gone in properly, if it hasn't then push inwards with your finger tips and hopefully it goes in properly.
|
